

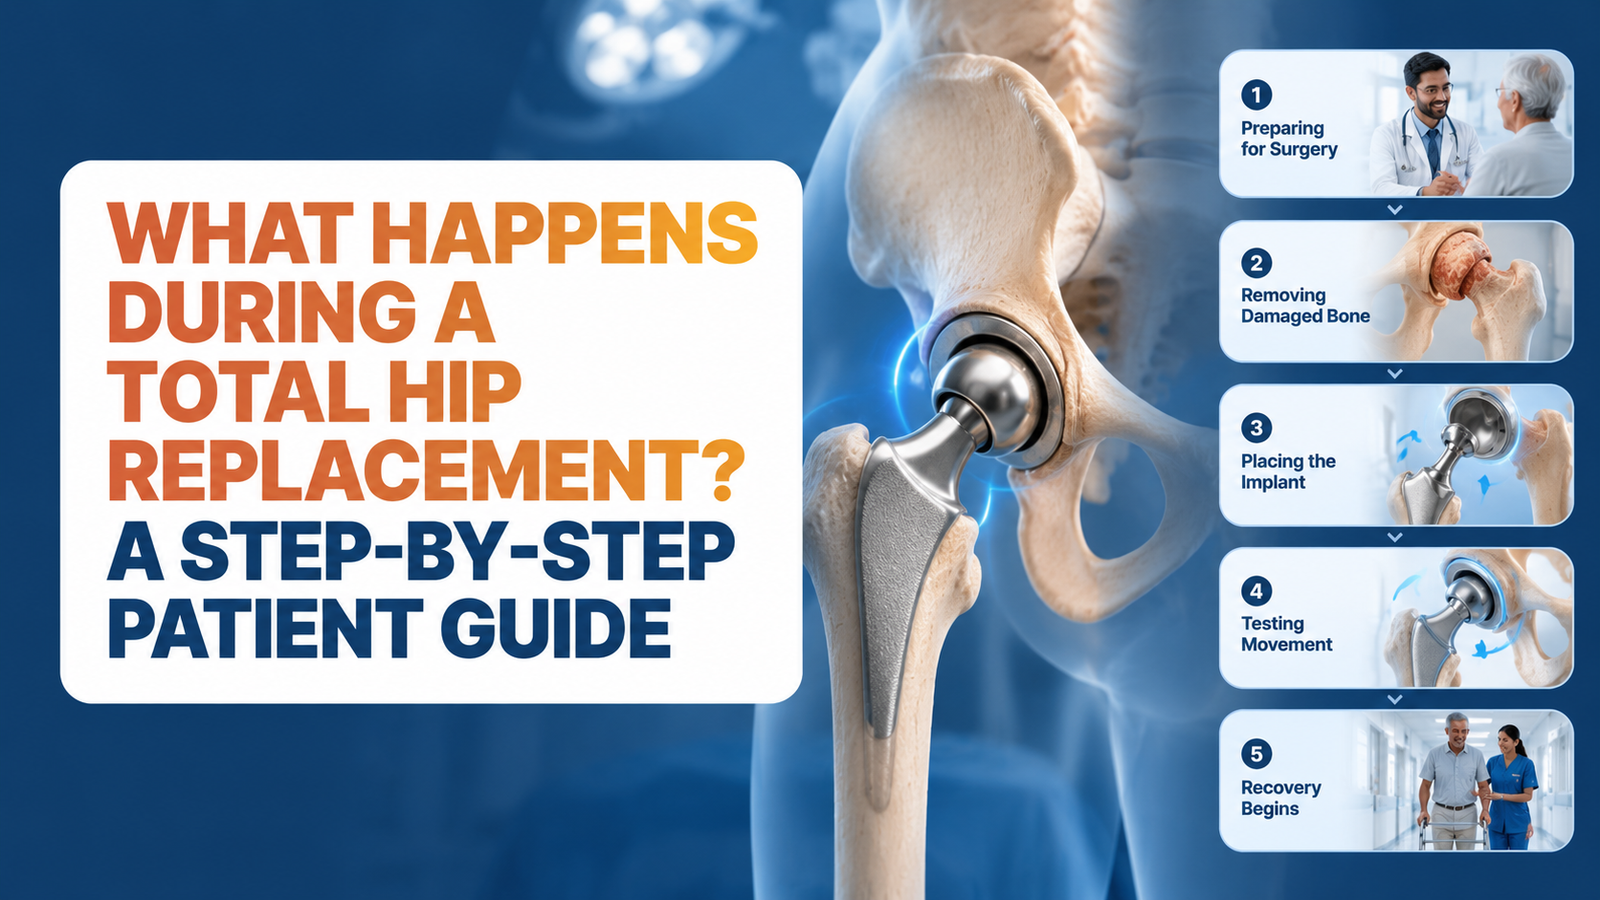
Being told that you need a total hip replacement can feel overwhelming. For many patients, the biggest source of anxiety isn’t the surgery itself -it’s the uncertainty surrounding it.
Questions like:
are completely natural.
The good news is that total hip replacement is one of the most successful procedures in modern orthopedics, helping patients regain mobility, reduce pain, and return to activities that have become difficult because of hip arthritis or joint damage.
Let’s walk through the procedure step by step.
The hip is a ball-and-socket joint.
The “ball” is the head of the femur (thigh bone), while the “socket” is a part of the pelvis called the acetabulum.
Over time, conditions such as:
can damage the smooth cartilage that allows the joint to move comfortably. As the cartilage wears away, patients often experience:
When conservative treatments no longer provide relief, total hip replacement may be recommended.
Long before the surgery begins, extensive planning takes place.
The orthopedic surgeon evaluates:
This planning helps determine the ideal implant size, positioning, and surgical strategy.
In robotic-assisted hip replacement surgery, advanced digital planning can further personalize the procedure.
On the day of surgery, the patient is brought into the operating theatre. The anesthesia team administers the appropriate anesthesia and continuously monitors:
The surgical area is carefully prepared using strict sterilization protocols to minimize infection risk.
The surgeon makes a carefully planned incision to access the damaged hip joint.
Modern surgical techniques focus on minimizing unnecessary tissue disruption while providing adequate visibility and control during the procedure.
The exact approach may vary depending on:
Once the hip joint is exposed, the damaged portions of the joint are removed. This typically includes:
The Femoral Head (Ball)
The worn-out femoral head is carefully removed.
The Damaged Socket Surface
The damaged cartilage and affected bone within the socket are prepared to receive the new implant.
The goal is to create a stable foundation for the replacement components.
Precision is critical at this stage.
The surgeon carefully shapes and prepares:
This preparation ensures that the implants fit securely and function properly.
In robotic-assisted surgery, real-time guidance may help optimize implant positioning and alignment.
The artificial hip joint is then implanted.
A typical total hip replacement consists of:
Acetabular Component
A specialized cup is placed into the pelvic socket.
Femoral Stem
A stem is inserted into the thigh bone.
Femoral Head
A new artificial ball is attached to the stem.
Together, these components recreate the movement and function of a healthy hip joint.
Before completing the procedure, the surgeon carefully evaluates:
Any necessary adjustments are made to ensure optimal function.
This step is crucial for achieving long-term success.
Once the implants are securely positioned and the hip functions appropriately, the surgical site is closed.
The layers of tissue are repaired carefully, and dressings are applied.
The patient is then transferred to the recovery area for monitoring.
Recovery begins sooner than many patients expect.
Depending on the individual case, patients often begin:
within a short period after surgery.
Early mobilization plays an important role in modern hip replacement recovery protocols.
The purpose of surgery extends far beyond replacing a damaged joint.
The ultimate goals are to help patients:
Many patients are able to resume activities that had become difficult or impossible before surgery.
Total hip replacement is a carefully planned procedure that combines surgical expertise, advanced technology, and precise implant placement to restore the function of a damaged hip joint.
While the operation itself is highly sophisticated, its objective is simple: helping patients move better, live more comfortably, and regain independence.
Understanding the surgical process often removes much of the fear surrounding hip replacement and allows patients to approach treatment with greater confidence and clarity.
Revolutionizing Joint Replacement with Robotic Precision
*This website is for providing general information only and should not be considered as medical advice or soliciting patients.
**An in-person consultation with the Doctor is adviced before practicing any remedies / recommendations mentioned on this website